
Weekend Yard Makeovers on a Tight Budget
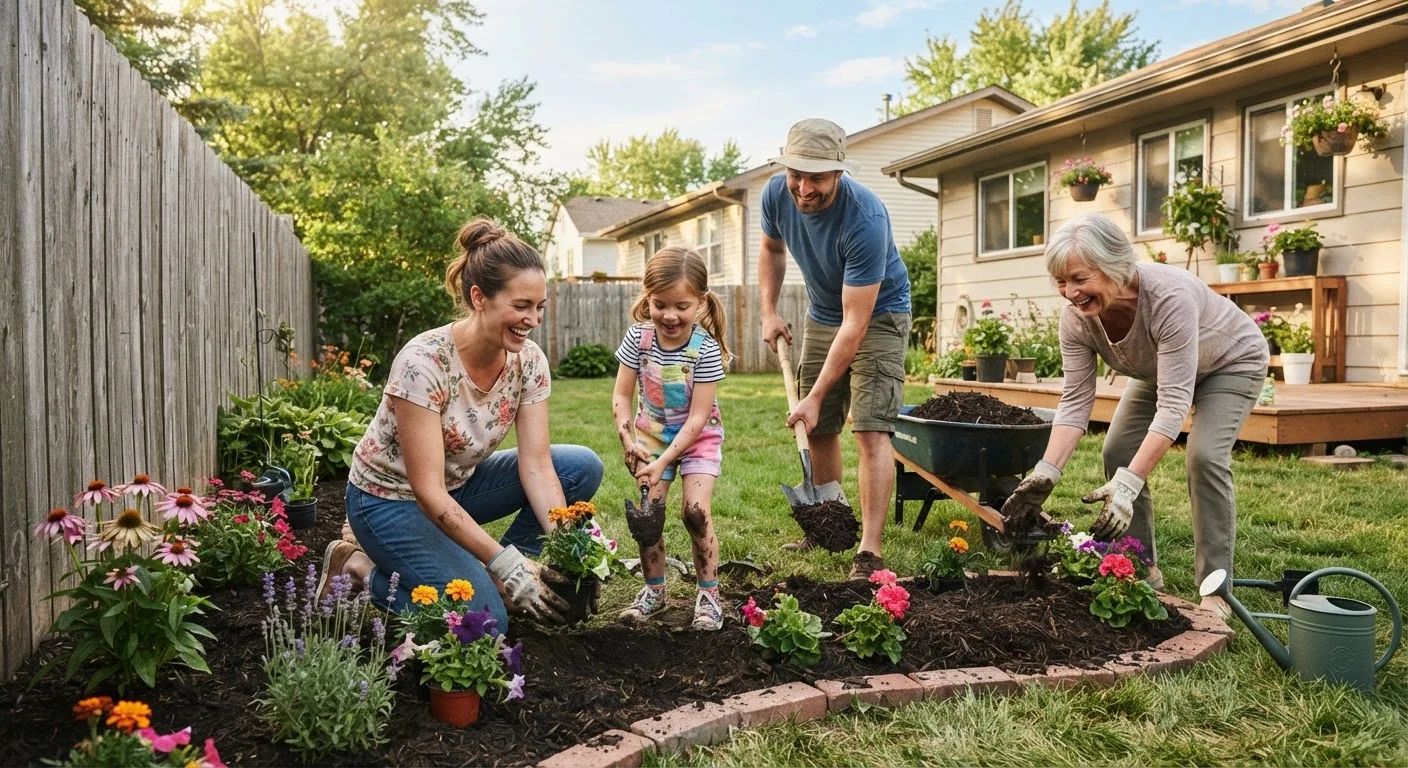
Photo credit: healthmatters.site
In this article
Transform your outdoor space without overspending. Practical landscaping ideas families can tackle in a weekend with minimal tools and materials.
Key Takeaways
- Most yard makeovers can be completed in one to two weekends using basic hand tools.
- Mulch, edging, and plant division are among the lowest-cost ways to refresh a yard's appearance.
- Borrowing or renting tools you will use once keeps upfront costs low.
- Free compost and mulch programs exist in many municipalities, reducing material costs significantly.
- Planning before buying prevents over-purchasing plants or supplies that go to waste.
Why a tight-budget yard project is actually doable
Yard work has a reputation for getting expensive fast, but most of that cost comes from hiring labor or buying plants at full retail price. When you supply the labor yourself and source materials strategically, a meaningful weekend transformation is within reach for most families. The goal is not a magazine spread. A tidier lawn edge, defined garden beds, and a clear path from the driveway to the door add real curb appeal without requiring a landscape contractor.
For design ideas that go beyond weekend sprints, the what low-maintenance landscaping actually means explains which changes genuinely reduce long-term upkeep and which just shift work to another season.
What you will need
What you will need before you start
Gather your tools and materials the day before so Saturday morning is not spent making hardware store runs. Check whether your municipality offers free compost or wood-chip mulch through a yard-waste program. Many cities do, and a pickup truck load can cover a substantial area at no cost.
Square spade or edger
Creates clean, defined edges between lawn and garden beds.
Garden fork or cultivator
Loosens compacted soil in existing beds before adding amendments or replanting.
Wheelbarrow or garden cart
Moves mulch, soil, and debris efficiently across the yard.
Garden gloves
Protects hands during digging, mulching, and plant division.
Landscape fabric or cardboard
Suppresses weeds beneath mulch in newly established beds.
Bow rake
Spreads mulch evenly and levels soil after digging.
Step-by-step weekend makeover
Work through these steps in order. Clearing and edging first means you will not trample freshly mulched beds or replanted areas.
Clear debris and overgrowth
Remove dead plants, fallen branches, and accumulated leaves from all beds and lawn edges. Bag or compost organic material. Clearing first gives you an accurate picture of what you are working with and prevents trip hazards during the rest of the project.
Edge all bed borders
Use a square spade or manual edger to cut a clean line along every bed border. A consistent depth of about 3 inches is enough to define the edge and slow grass encroachment. Shake soil off the removed sod strips and add them to a compost pile rather than the trash.
Amend and loosen bed soil
Work a 2-inch layer of compost into the top 6 inches of existing beds using a garden fork. This step improves drainage and gives transplants a better start without requiring bagged fertilizers.
Divide and replant existing perennials
Dig up overgrown clumps of hostas, daylilies, ornamental grasses, or coneflowers. Separate them into smaller sections using a garden fork or a sharp spade. Replant divisions in bare areas of your beds at the same depth they were growing before, and water them in well immediately.
Apply mulch
Spread 2 to 3 inches of mulch across all beds. Keep mulch 2 to 3 inches away from plant stems and tree trunks to prevent rot. A consistent mulch layer retains soil moisture, moderates soil temperature, and reduces weed germination significantly.
Tidy the lawn perimeter and pathways
Mow the lawn at a consistent height, trim along fences and structures with a string trimmer, and sweep or blow hard surfaces clean. These finishing steps take under an hour and have an outsized effect on how finished the yard looks overall.
Keeping costs down on plants and materials
Plants are typically the largest variable cost. Several strategies can cut that number substantially. Dividing existing perennials (hostas, daylilies, ornamental grasses) produces free transplants for bare spots. Neighbors and local gardening groups are common sources of divisions and seeds at no cost. Seed-starting instead of buying transplants works well for annuals and vegetables, though it requires more lead time than a weekend project allows for same-season results.
For soil amendment, a home compost system supplies a continuous stream of free organic matter. The composting at home guide walks through setup options for any yard size.
If you are considering a raised bed as part of your makeover, raised bed gardening for first-time growers covers soil mix and spacing so you do not over-buy materials.
Common mistakes that push costs up
Buying too many plants for the space available is the most frequent budget problem. Measure beds before purchasing and account for mature plant spread, not just how large the transplant looks in the nursery container. A crowded bed requires thinning within two seasons, which wastes both plants and money.
Skipping bed edging is a second common misstep. Without a physical barrier between lawn grass and garden beds, grass re-invades within weeks, and the recurring removal labor defeats the purpose of a weekend project. A simple metal or plastic edging strip installed once saves hours of future hand-pulling.
Deferred small maintenance jobs also compound into larger costs over time. The home maintenance tasks families delay too long covers which overlooked chores tend to become expensive problems.

Author
Affordable Home & Garden Editorial Team
Affordable Home & Garden Editorial Team is the collective byline for our editorial team and contributor network. Articles published under this byline or an editorial pen name are researched, written, and reviewed according to our editorial standards for clarity, consistency, and independence before publication.
View all articles →