
Composting at Home: Turning Kitchen Scraps Into Garden Gold
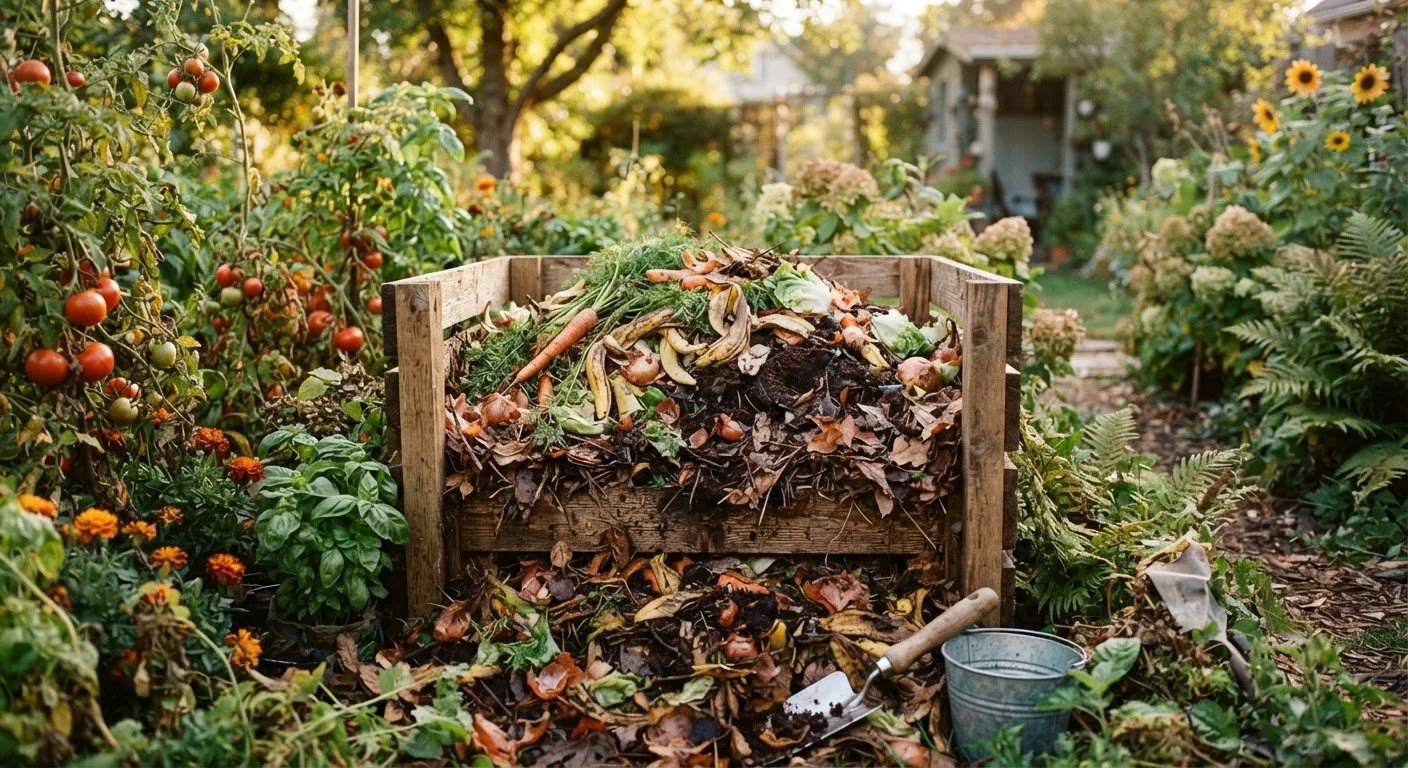
Photo credit: healthmatters.site
In this article
A clear, practical guide to setting up a compost system in any yard size, including what to add, what to skip, and how to speed up the process.
Key Takeaways
- Composting requires only a balance of green materials, brown materials, moisture, and air.
- Most kitchen scraps and yard waste can be composted; meat, dairy, and oily foods should stay out.
- A properly managed pile can produce finished compost in as little as 6 to 8 weeks.
- Even small yards or apartments can support composting through compact or tumbler-style bins.
- Finished compost improves soil structure, reduces the need for purchased fertilizers, and cuts landfill waste.
Why composting makes sense for home gardeners
Every time a banana peel or coffee filter goes into the trash, a free soil amendment heads to a landfill instead of your garden. Composting intercepts that material and converts it into a dark, crumbly amendment that improves drainage in clay soils, adds water retention to sandy ones, and supplies a slow, steady stream of nutrients to plant roots.
The cost of entry is low. A basic compost pile needs no bin at all, and even a purpose-built container can be assembled from scrap lumber or purchased for less than many bags of commercial fertilizer. Once the system is running, it feeds itself from household and yard waste you were already generating.
If you are planning a raised bed or improving existing garden soil, finished compost is one of the most practical amendments available. See our guide to raised bed gardening for how to incorporate it into a new planting setup. For ideas on covering the soil around plants, our comparison of mulch, gravel, and ground cover options covers when compost-enriched soil works best under each approach.
A countertop collection bin saves trips outside
A small lidded container on the kitchen counter makes it easy to collect scraps before a single trip to the outdoor pile. Look for one with a charcoal filter in the lid to prevent odors. Empty it every two to three days in warm weather to keep fruit flies from becoming a problem.
What to add and what to leave out
A compost pile needs two categories of material: greens and browns. Greens supply nitrogen and include vegetable and fruit scraps, coffee grounds and filters, tea bags (paper ones only), fresh grass clippings, and plant trimmings. Browns supply carbon and include dry leaves, cardboard torn into small pieces, newspaper, paper bags, straw, and wood chips. A rough target is two to three parts brown material for every one part green by volume.
Keep these out of your pile:
- Meat, fish, and bones: they attract pests and decompose slowly
- Dairy products and oily or greasy food scraps
- Pet waste: it can carry pathogens that a home pile may not reach temperatures high enough to destroy
- Diseased plants or weeds that have gone to seed
- Treated or painted wood
Eggshells are fine and add trace calcium. Citrus peels decompose slowly but are not harmful. Shredding or chopping materials into smaller pieces before adding them speeds breakdown noticeably.
Setting up your composting system
What you will need
Choose a location that gets partial sun, has good drainage, and is within reach of a garden hose. A spot 3 feet by 3 feet is the minimum for a pile to generate enough internal heat to decompose efficiently. Larger piles, up to about 5 feet on each side, hold heat better and tend to work faster.
For small yards, a compact tumbler bin keeps the pile contained and makes turning easier. For apartments or households with no outdoor space, a small worm bin (vermicomposting) can process food scraps indoors using red wiggler worms; the resulting castings are an even more concentrated soil amendment than standard compost.
Choose and prepare your composting site
Pick a level, well-drained spot with partial sun. Clear away any grass or weeds and loosen the top few inches of soil with a fork so worms and other soil organisms can move up into the pile. If you are using a bin, assemble or position it now.
Build the base layer with brown material
Start with a 4- to 6-inch layer of coarse brown material such as small twigs, straw, or wood chips at the bottom. This creates air pockets that support drainage and oxygen flow from the start.
Alternate green and brown layers
Add a 2- to 3-inch layer of green material (vegetable scraps, grass clippings, coffee grounds) on top of the base, then cover with a 4- to 6-inch layer of browns. Continue alternating. If you do not have enough material to build layers at once, simply mix greens and browns together as you add them, aiming for roughly a 3:1 brown-to-green ratio by volume.
Moisten the pile
Water the pile until the material feels like a damp, wrung-out sponge throughout. Too dry and microbial activity slows; too wet and the pile goes anaerobic and smells. In dry climates or hot summers, check moisture every few days.
Turn the pile regularly
Every one to two weeks, use a fork to move material from the outer edges toward the center and vice versa. The center is the hottest, most active zone. Turning aerates the pile, distributes moisture, and exposes undecomposed material to heat and microbes.
Harvest and use finished compost
Finished compost is dark brown to black, crumbly, and smells like forest soil. Any visible food scraps or recognizable materials mean it needs more time. Screen out unfinished chunks (toss them back into the active pile) and apply the finished product to garden beds at roughly 1 to 2 inches deep, worked into the top few inches of soil before planting.
Once you have a working compost system, it fits naturally into a broader low-cost yard improvement plan. Our article on weekend yard makeovers on a tight budget includes composting as one of several no-cost or low-cost upgrades families can make in a single weekend.
Troubleshooting common problems
A well-managed pile should smell earthy, not foul. If yours smells like ammonia, the nitrogen-to-carbon ratio is off: add more brown material and turn the pile. A rotten-egg smell usually means the pile is too wet and compacted, cutting off oxygen. Turn it, add dry browns, and if needed, cover during heavy rain.
If the pile is not heating up or breaking down, it is likely too dry. Water it until the material feels like a wrung-out sponge, then turn it to distribute moisture. Turning also introduces oxygen, which the microorganisms driving decomposition require. A pile that is turned every one to two weeks can reach a finished state in 6 to 8 weeks. One left untouched may take 6 to 12 months.
Pests are usually a sign that food scraps are sitting on the surface. Bury fresh kitchen scraps toward the center of the pile, at least a few inches down, and make sure no meat or dairy has been added by mistake.

Author
Affordable Home & Garden Editorial Team
Affordable Home & Garden Editorial Team is the collective byline for our editorial team and contributor network. Articles published under this byline or an editorial pen name are researched, written, and reviewed according to our editorial standards for clarity, consistency, and independence before publication.
View all articles →