
Why DIY Painting Jobs Go Wrong Before the Roller Hits the Wall
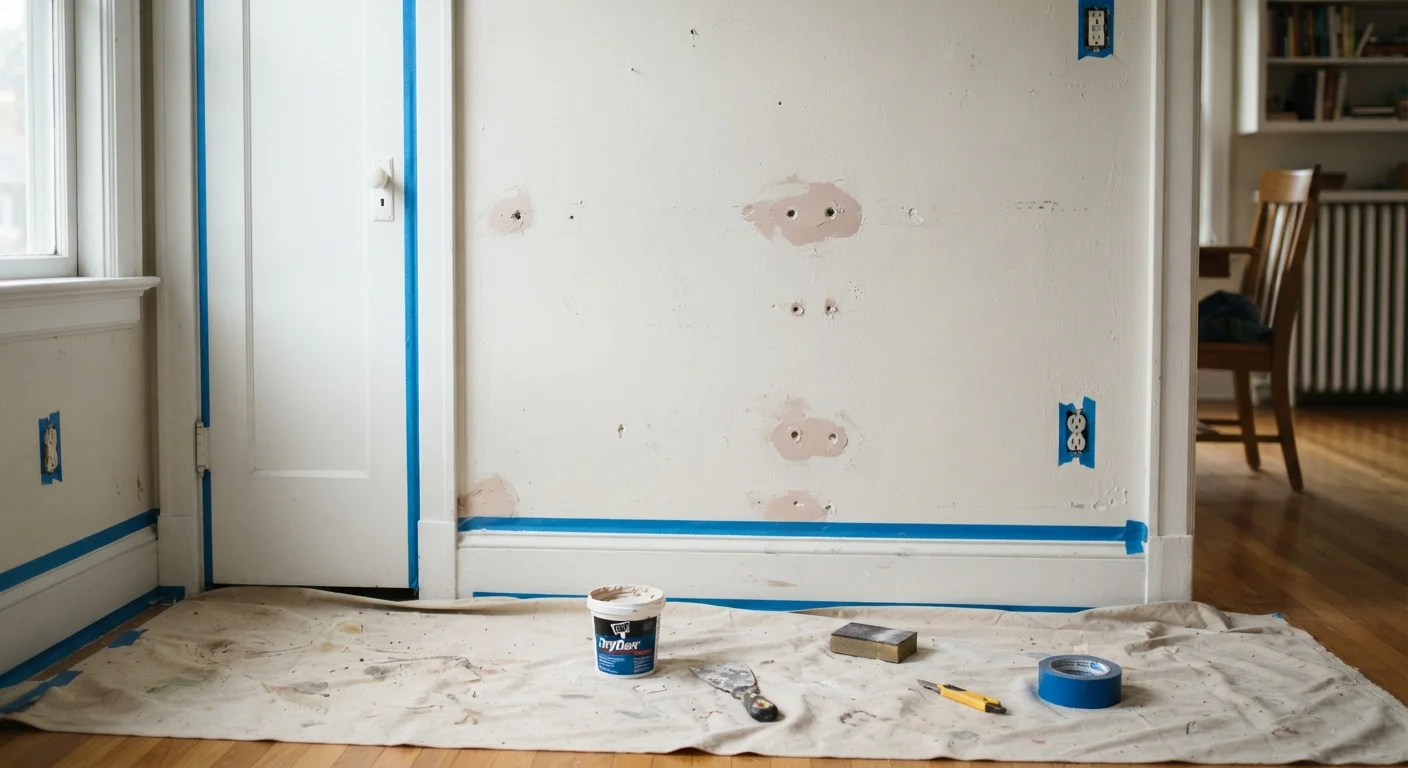
Photo credit: healthmatters.site
In this article
Poor prep, wrong primer, and bad tape choices ruin more paint jobs than poor technique ever does. Here is what to watch for.
Key Takeaways
- Skipping surface cleaning and repair causes paint to peel or bubble within months.
- Using the wrong primer for the surface type leads to poor adhesion and uneven color.
- Cheap or improperly applied painter's tape produces bleed lines and wasted effort.
- Rushing dry time between coats is one of the most common causes of a failed finish.
- Poor prep accounts for the majority of DIY painting failures, not brush or roller technique.
Why prep problems cost more than technique problems
A shaky hand or an uneven roller stroke is visible up close. A poorly prepped surface fails the whole wall. Paint applied over contaminated, unrepaired, or under-primed surfaces breaks down from the substrate outward, and by the time it shows, redoing the job costs more time and material than getting it right the first time.
The good news is that prep work does not require specialized skill. It requires patience and the right sequence. Most of the mistakes below happen because homeowners jump ahead in that sequence, not because they lack ability. See which home tasks go wrong when delayed for a broader look at how skipped upkeep turns into expensive repairs.
Skipping surface cleaning before painting.
Why it happens: Walls that look clean to the eye often carry grease, dust, or residue from cleaning products. Many painters assume a quick wipe is enough, or skip it entirely to save time.
Not filling nail holes, cracks, or surface imperfections before priming.
Why it happens: Small flaws look minor in bare light but become obvious under a sheen finish coat. Painters often assume paint will cover them, and it does not.
Using a single all-purpose primer on mismatched surfaces.
Why it happens: Hardware stores sell many varieties of primer, and the differences are not obvious at a glance. Shoppers default to whatever is on the shelf or whatever was left in the garage.
Applying painter's tape without pressing the edge down firmly.
Why it happens: Tape looks secure after it is placed, so most people move on without checking the seal. Paint then seeps under the loose edge and dries into a bleed line.
Painting over glossy or previously painted surfaces without scuff-sanding.
Why it happens: Sanding feels like extra work when the surface looks smooth. The result is poor adhesion, and the new coat can peel or chip within a year.
Not allowing adequate dry time between coats.
Why it happens: Impatience is common, especially on weekends when a room needs to be back in use. Paint that appears dry to the touch may not have cured enough to accept a second coat cleanly.
Getting the sequence right
Order matters. Clean the surface before patching. Patch before priming. Prime before painting. Each step depends on the one before it, and shortcuts in earlier steps do not get corrected by later ones.
Patching bare drywall requires primer
Applying paint directly over spackle or joint compound without priming first causes visible dull spots called 'flashing.' These patches absorb paint differently than the surrounding wall, and no number of topcoats will hide them. Always prime repaired areas before applying finish paint.
One detail many families overlook: temperature affects adhesion. Most interior latex paints require the room and the surface to be above 50 degrees Fahrenheit during application and for several hours after. Painting in a cold garage or a room with the heat off in winter can cause the paint film to fail even when every other prep step was done correctly. Check the can for the specific range recommended by the manufacturer.
Prep also means protecting what you are not painting. Lay drop cloths that actually cover the floor, not a single sheet folded in half. Remove outlet covers and switch plates instead of taping around them. These small steps add maybe 20 minutes but eliminate cleanup that can take hours.
When to stop and call a professional
Most interior wall painting is within reach for any careful homeowner. However, some conditions signal that a professional assessment is worth the cost. Paint that is peeling in large sections, walls with persistent moisture stains that return after painting, or surfaces with suspected lead paint all go beyond surface prep. Lead paint is common in homes built before 1978, and disturbing it without proper precautions carries real health risk. The EPA's Renovation, Repair, and Painting (RRP) rule governs how contractors handle lead paint, and the EPA website provides guidance on testing options for homeowners.
If you are comfortable with the prep process but want a comparison to other DIY decisions around the house, knowing when to hand a job to a professional applies the same logic to vehicle maintenance.

Author
Affordable Home & Garden Editorial Team
Affordable Home & Garden Editorial Team is the collective byline for our editorial team and contributor network. Articles published under this byline or an editorial pen name are researched, written, and reviewed according to our editorial standards for clarity, consistency, and independence before publication.
View all articles →