
Keeping Your Home Wi-Fi Fast Without Upgrading Your Router
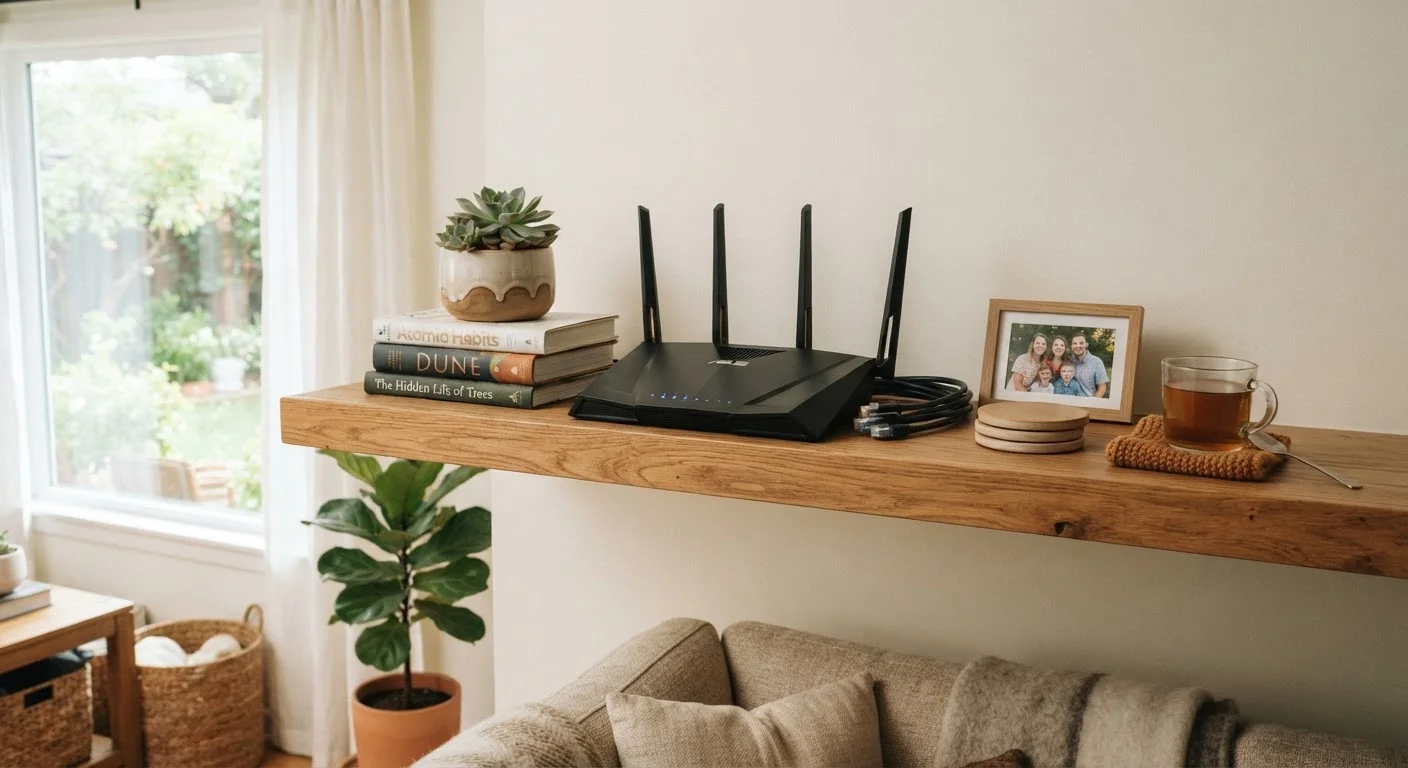
Photo credit: healthmatters.site
In this article
Placement, channel settings, firmware, and device limits: practical steps to squeeze more speed from the router you already own.
Key Takeaways
- Router placement in a central, elevated, open spot can significantly improve signal coverage.
- Switching to a less congested Wi-Fi channel reduces interference from neighboring networks.
- Keeping router firmware current can fix performance bugs and improve connection stability.
- Limiting the number of active devices and disabling unused features reduces bandwidth strain.
- A 5 GHz connection handles speed-intensive tasks better than 2.4 GHz on compatible devices.
Why your router slows down over time
A router that performed well when first installed can degrade for several reasons that have nothing to do with the hardware wearing out. Neighbor networks multiply, more devices join your home network, firmware ages without updates, and the router accumulates persistent connections in memory. None of those require a hardware replacement to fix.
The steps below address each cause in order of effort: low-effort physical changes first, then software adjustments inside the admin panel. Working through them in sequence lets you identify exactly where the problem sits rather than guessing.
Restart before you change anything
A simple router restart clears memory leaks and resets active connections. Before adjusting any settings, unplug the router for 30 seconds and plug it back in. Many slowdowns resolve at this step alone, which saves time and avoids unnecessary configuration changes.
Before you start, gather what you need.
What you will need
Tools and settings you will work with
You do not need any specialized equipment. Most of the work happens inside the router's admin panel through a web browser.
A laptop or smartphone
Used to access the router's admin panel and run speed tests.
Router admin credentials
Required to log into the router interface and change settings.
Wi-Fi analyzer app
Scans local channels to identify congestion from neighboring networks.
Ethernet cable
Allows a wired connection for accurate speed testing independent of Wi-Fi variables.
With those in hand, follow the steps below.
Move the router to a better location
Wi-Fi signals radiate outward from the router in all directions. Placing it in a corner, inside a cabinet, or on the floor means a large portion of that signal goes into walls, furniture, or outside the home rather than to your devices.
Move the router to a central room, set it on a shelf or desk at roughly mid-height, and keep it clear of metal objects, microwaves, and cordless phone bases. Each of those can block or interfere with the 2.4 GHz band specifically.
Run a baseline speed test
Before changing settings, measure what you are actually getting. Connect a device via Ethernet cable to the router and run a speed test at a reputable testing site. Write down the download and upload speeds.
Then disconnect the cable, connect over Wi-Fi from the same room as the router, and run the test again. The gap between those two numbers tells you how much Wi-Fi overhead you are dealing with versus a problem with your internet plan itself.
Switch devices to the 5 GHz band
Most modern routers broadcast two separate bands: 2.4 GHz and 5 GHz. The 2.4 GHz band travels farther and passes through walls more easily, but it is shared by many other household devices and neighboring networks, which creates congestion. The 5 GHz band has more available channels, supports higher throughput, and is less crowded, though it has a shorter effective range.
In your device's Wi-Fi settings, look for a network name that ends in "_5G" or "5GHz" and connect to it for any device that stays in the same room or the next room from the router. Streaming devices, game consoles, and laptops benefit the most from this switch.
Change the Wi-Fi channel
On the 2.4 GHz band, channels 1, 6, and 11 do not overlap with each other. If all nearby routers are on channel 6 (the factory default for many models), switching yours to channel 1 or 11 can reduce interference noticeably. On the 5 GHz band, there are more non-overlapping channels available, and most routers handle 5 GHz channel selection well on automatic.
Log into your router's admin panel (the address is usually 192.168.1.1 or 192.168.0.1), navigate to the wireless settings section, and look for a "Channel" dropdown. Change the 2.4 GHz channel from "Auto" to a specific non-overlapping channel based on what a Wi-Fi analyzer shows is least congested in your area.
Update the router firmware
Router manufacturers release firmware updates that address security vulnerabilities, fix bugs affecting throughput, and sometimes improve how the router handles multiple simultaneous connections. Many routers do not update themselves automatically.
In the admin panel, look for a section labeled "Advanced," "Administration," or "Firmware Update." Some routers check for updates within that menu; others require you to download a file from the manufacturer's support page and upload it manually. After the update installs, the router will restart.
Reduce the number of active devices
Every device connected to your network uses some bandwidth, even when it appears idle. Smart TVs, game consoles, and phones frequently run background updates, sync cloud data, or stream low-level telemetry. If you have 20 or more devices connected, total available bandwidth per device drops considerably.
In the admin panel, check the "Connected Devices" or "DHCP Client List" section. Identify devices you no longer use or guest devices left connected, and remove them. On most routers you can block a device by its MAC address (a unique hardware identifier) to prevent it from reconnecting.
Disable features you are not using
Many routers ship with features enabled by default that consume processing power: remote management, UPnP (Universal Plug and Play), and older Wi-Fi security protocols such as WEP or WPA (first generation). Turning off unused features can free up router CPU and memory for handling active traffic.
In the admin panel, disable remote management if you do not need to access the router from outside your home. If no device on your network requires UPnP, turn it off. Set your security protocol to WPA2 or WPA3 and disable WEP and original WPA if the option is present. These changes take effect after a router restart.
Checking your results and knowing when to stop
After completing the steps, run the same wired and wireless speed tests from Step 2. Compare the new numbers against your baseline. A meaningful improvement on the wired test suggests the earlier slowdown was partly a plan or modem issue; a meaningful improvement on the wireless test points to the configuration changes working.
If wireless speeds are still well below your plan's rated speed after all adjustments, consider the physical layout of your home. A single router has real range limits, and a large or multi-story home may need a wired access point or a mesh node to cover dead zones. That is a separate decision from whether your current router's settings are optimized, and it is worth confirming the settings are solid before spending money on additional hardware.
Use a free tool to scan nearby networks
Apps such as Wi-Fi Analyzer (Android) or the built-in Wireless Diagnostics tool on macOS let you see which channels neighboring routers are using. Picking a channel with little or no overlap gives your router room to operate without fighting for airspace.

Author
Budget Tech Picks Editorial Team
Budget Tech Picks Editorial Team is the collective byline for our editorial team and contributor network. Articles published under this byline or an editorial pen name are researched, written, and reviewed according to our editorial standards for clarity, consistency, and independence before publication.
View all articles →